فيديوهات شرح منظومة سمارت جى اى اس Smart GIS Tutorials Videos
GIS Conversion Tools

A) Converting AutoCAD files to GIS Shape Files

Converting AutoCAD file to Shape Files
Menu → Tools → Converting AutoCAD file to Shape File
B) Converting GIS Shape Files to AutoCAD files
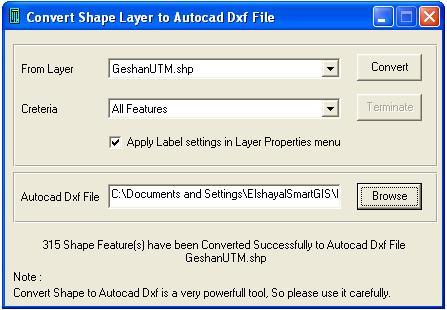
Converting Shape File to AutoCAD file
Menu → Tools → Converting Shape File to AutoCAD file
C) Converting GIS Shape Files to Google KML files

Converting Shape File to Google KML file
Menu → Tools → Converting Shape File to Google KML file
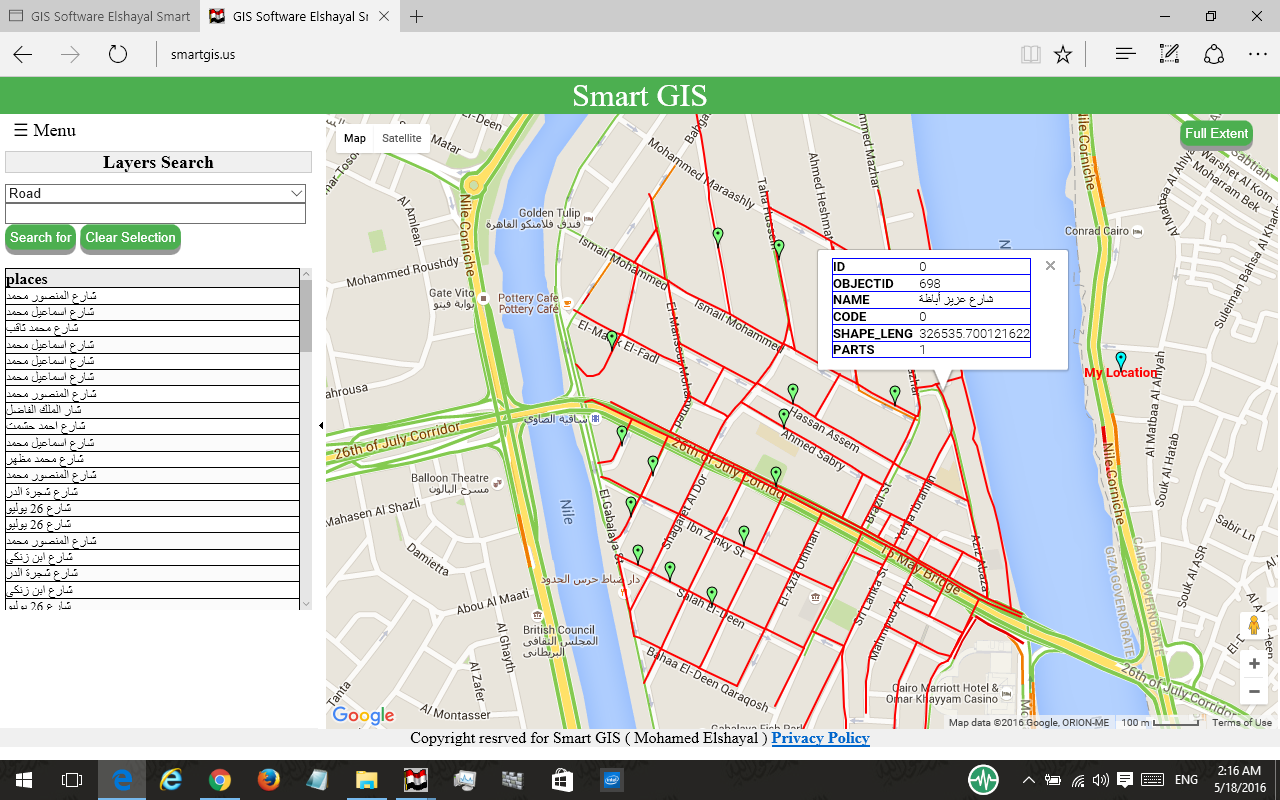
D) Converting GIS Shape Files to HTML GIS Web Sites
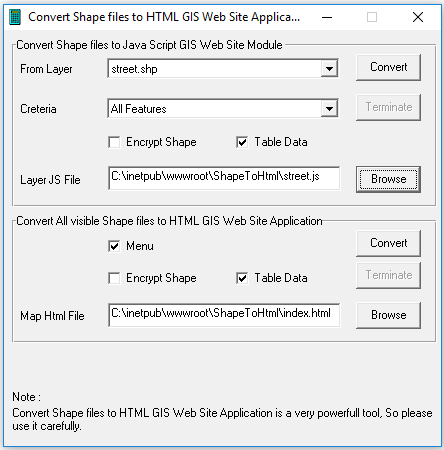
Converting GIS Shape File to HTML GIS Web Sites
Menu → Tools → Converting GIS Shape File to HTML GIS Web Sites

 E) Synchronize Google Earth with Lon Lat Geographic maps
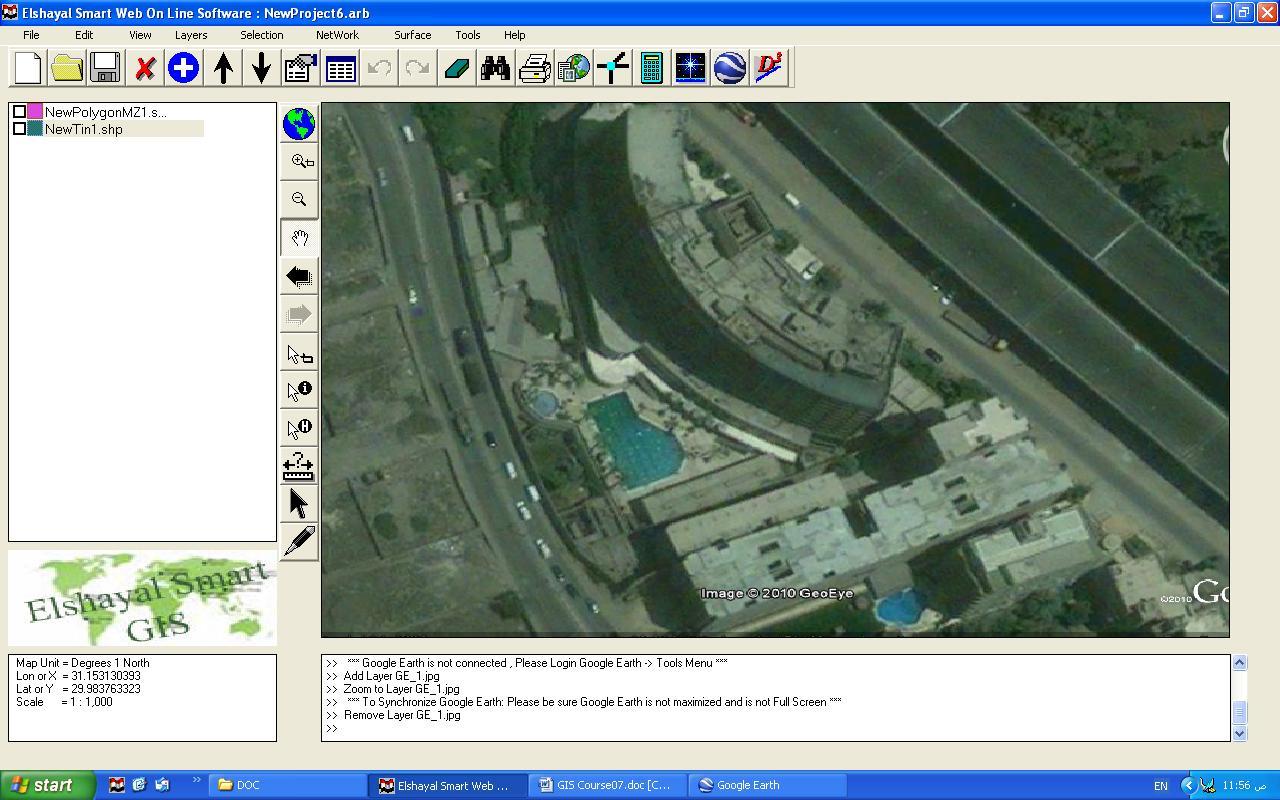
Synchronize Google Earth with Lon Lat Geographic Maps
Menu → Tools → Synchronize Google Earth with Lon Lat Geographic Maps
Settings
- Open Google Earth 4.3 or Later Versions ( It must be installed in your Computer )
- Inside Google Earth, do the following Settings
- Tools → Options : Turn Off Terrain
- Be Sure that North Arrow is completely very up by
- View → Show Navigation → Always
- Press Double Click on North
- Be Sure that Google Earth is very Flat by:
- Pressing keyboard Shift and keyboard Up Arrow.
- Pressing Keyboard Ctrl and keyboard down arrow
- Close Google Earth
- Open GIS Software
- Set Map Projection to Decimal Degree
- Be Sure Google Earth Software is NOT maximized and is NOT Full Screen